If you’re a crafter like me, you enjoy looking at projects online and then making your own version without having to adhere to strict instructions. Having to read pages of steps, with or without pictures, is boring. But if someone gives me an idea and I can figure out how to make it my own? I love it. If that sounds like you, then let me introduce you to a DIY project you’ll fall in love with and want to do over and over.
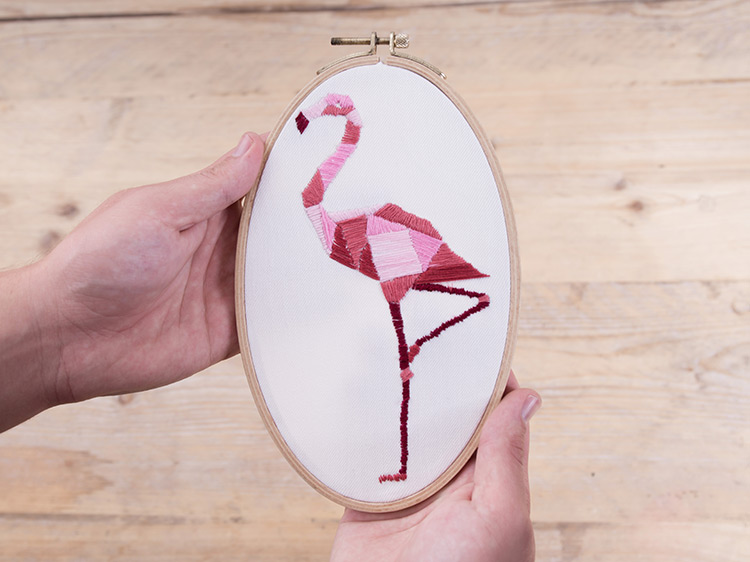
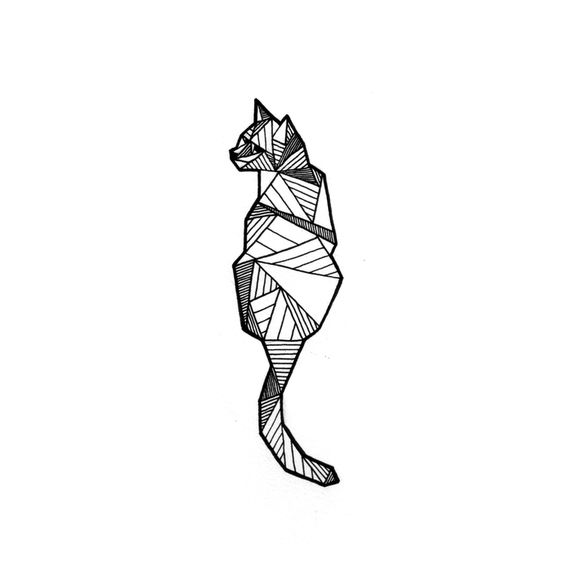
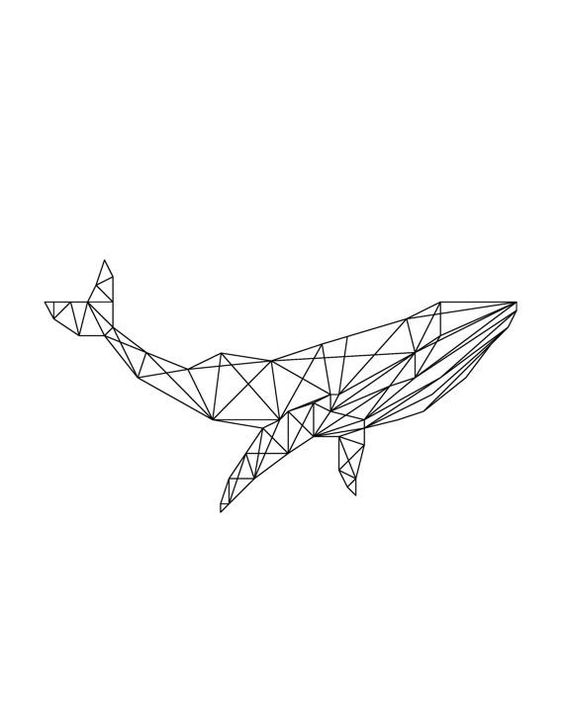
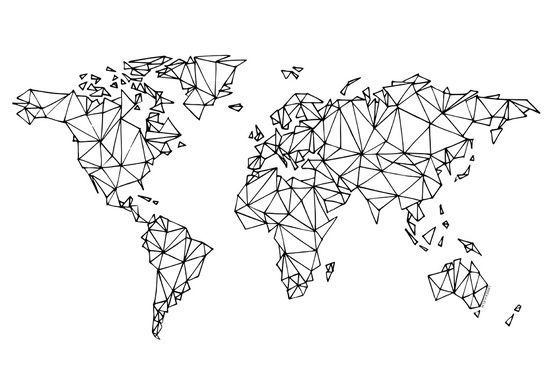
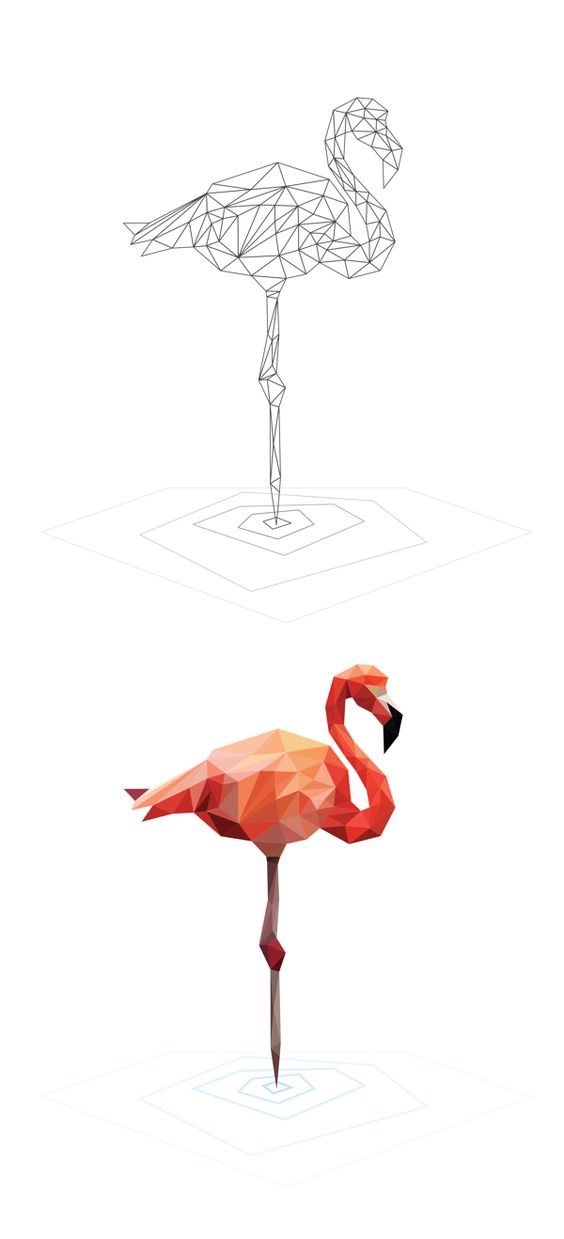
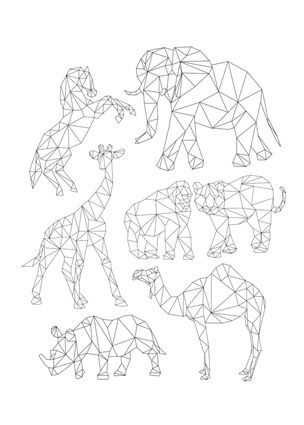
DIY With Love’s Geometrical Animal Patterns is the perfect small project for the beginner embroiderer. You can choose any line drawing you want – doesn’t have to be an animal – and with just a few steps, you’ve got a pattern you can embroider in a rainbow of colors. It’s so easily customizable you might want to make yourself an entire zoo. These embroidery pieces would look fantastic in a sun room, nursery, or guest room. You can choose colors that coordinate with your decorating motifs, or you can choose to give these beauties away – they would make an excellent housewarming present.
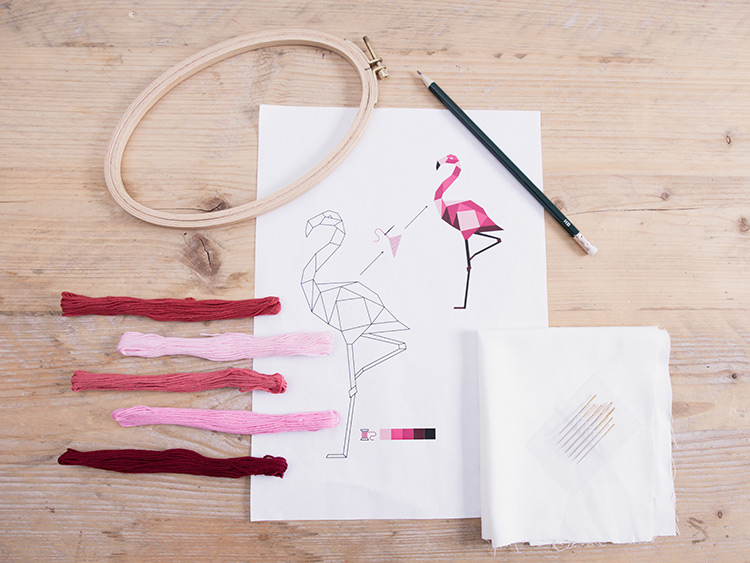
To make your own geometrical pattern, simply choose a line drawing (you will need to print it out), and get some embroidery cloth, a pencil, and some tape. I don’t have a fancy light table, so I just tape the drawing behind the fabric and put it up against a window to trace. You can use chalk or a fabric pencil, but I prefer a regular pencil as the markings are clearer.
Once you’ve got the design transferred, you can break it up into geometric pieces if it isn’t already. Once you’re done with that step, you can start on the embroidery. I prefer using a hoop, but some people prefer the fabric to be loose, so find what works for you and do that. Remember, this is DIY so you do it how you like (and if you want a hoop, don’t feel like you have to stick with a circle hoop – there are ovals as well, and you can always find a square or rectangle if that’s your preference).
Embroidering can be a little tricky, so read up on embroidery stitches before you begin so you know the look you’re going for – and keep a thimble handy for those tough spots when the needle won’t go through without a little push. Other tools you might want nearby: scissors, extra needles, and a backing for the finished product (felt works, but you can also use interfacing). Some people think using a sewing machine for embroidery is easier, but you’ll need to practice both first to see which you prefer.
If this sounds like a fun project, give it a go and create a bevy of beautiful creatures to decorate your (or your friend’s) space. You can find the instructions at DIY With Love (Google translate does a great job), as well as photos and a free template download. If you’ve never explored DIY With Love, I recommend them for inspiration and tutorials. They have everything from jewelry making, crochet, knitting, to woodworking and cooking recipes.
And if you’d rather take a gander at other embroidery projects before you begin, we’ve included several ideas down below.