Looking for an easier way to decorate for fall? One that doesn’t require scooping, scraping, messes in general? We found a lovely idea that will take your fall decor to the next level, with little to no mess involved. You can also tailor it to your own decorating style and color schemes, whether you’re hosting a party, handing out candy, or simply want to acknowledge the passing of seasons. If this sounds like something you’re interested in exploring, all you need to do to begin this DIY is gather the following materials:
- Pumpkins of varying sizes (these can be real, plastic, or paper mache)
- Chalk paint
- Foam brush
- Oil-based paint pen that will stand out against the chalk paint
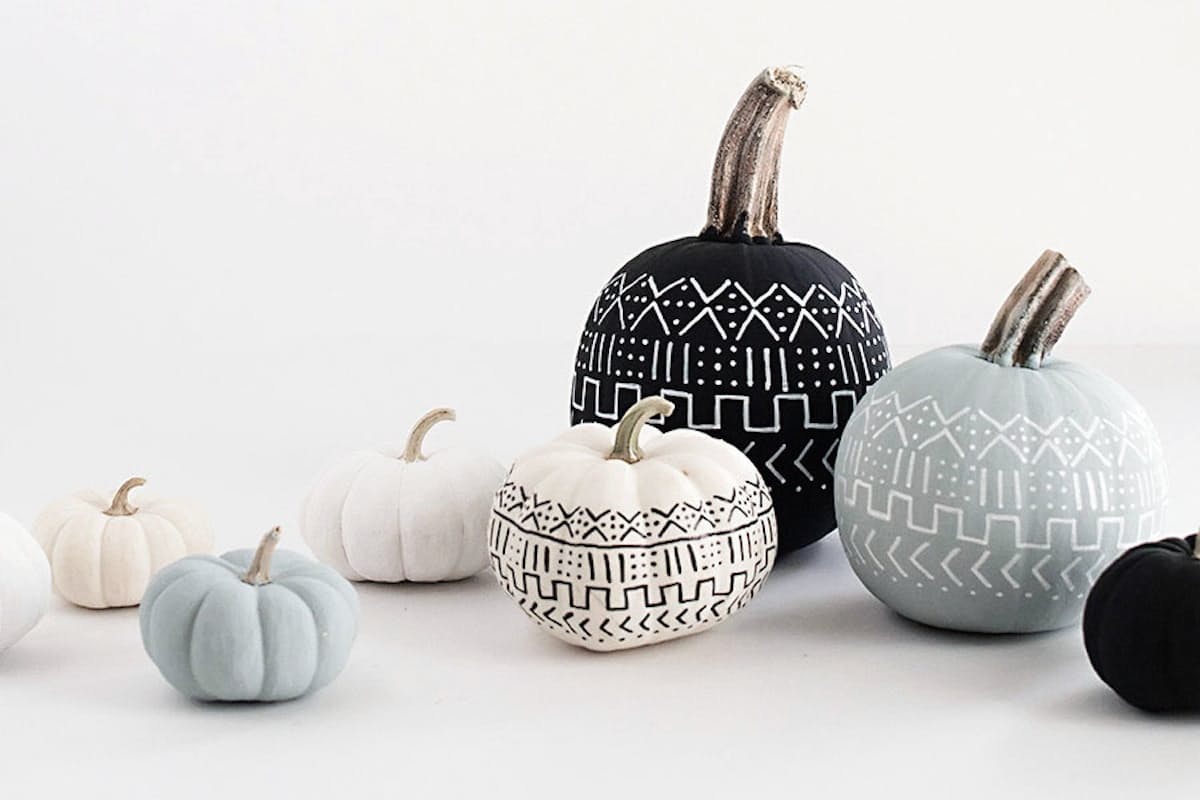
The only thing needed prior to painting is to wash the pumpkin – you don’t have to clean it out. You’ll just need to keep an eye on it and be ready to toss it when it starts to go bad. After washing, you can take the foam brush and dab the paint on. If you try long strokes with the brush, the paint will streak and you’ll need more coats of paint before the pumpkin is ready for the next step. After dabbing a few coats on and letting the paint dry completely, you can use the oil-based pen and start doodling. Do you like chevron? Stripes? Polka dots? You can use any or all of these, or search online for inspiration. The author of this tutorial went to Pinterest and searched “mud cloth patterns” for ideas. Whether you plan your pattern out first on paper or jump right in and let the muse take you, the doodling is the most fun part of the project. You can do as much or as little as you like, in any color that pops out from the background.
If you’d like to add this idea to your Halloween festivities, you can find the free written tutorial along with some excellent photos over at Homey Oh My.