For those of us with indoor jobs, finding time to relax in nature can be somewhat challenging. Between running errands, answering phone calls, drafting e-mails, and grabbing a bite to eat, spending time outside is pretty far down on the to-do list. Some of us compensate with potted plants, some succulents, a cactus, or covering our office walls with photos of the outdoor places we wish we could explore instead of being cooped up in our cubicles. There is another option, as well, that not only will remind you to go outside and breath in some fresh air, but also become one of your favorite jewelry pieces that you can wear with almost everything.
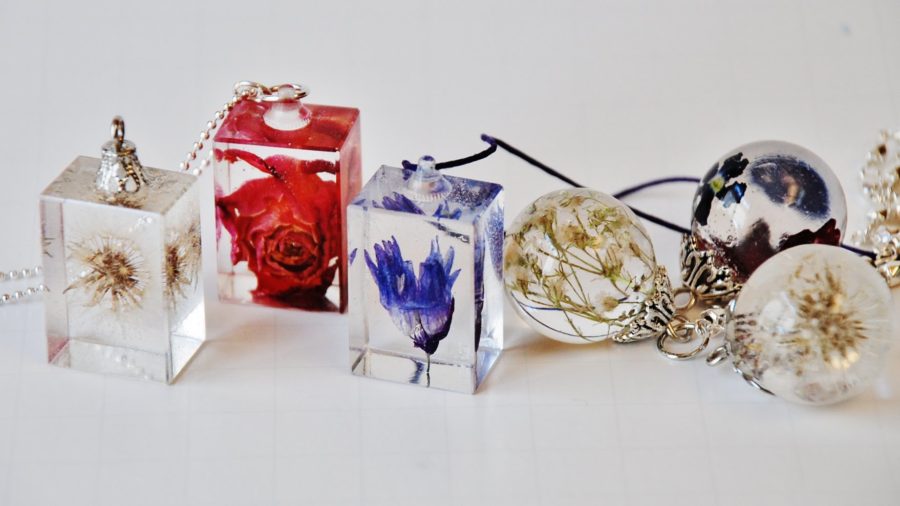
Resin pendants are sold all over the internet, from Amazon to Etsy. However, it isn’t too difficult to make your own, and the ability to customize your pieces is a plus. With a few tools and some of your favorite bits of nature, you can create some stunning pieces. You don’t have to stick to leaves, either. You can include moss, twigs, stones, seeds, dried flowers, or feathers in your creations. Once you’ve got your pendant made, you can decide whether to use it with a chain, a leather cord, a piece of ribbon, or hemp. You can also make bracelets, rings, earrings, keychains, and bookmarks with these pendants, all of which would make excellent presents for your nature-loving friends, co-workers, and family members.
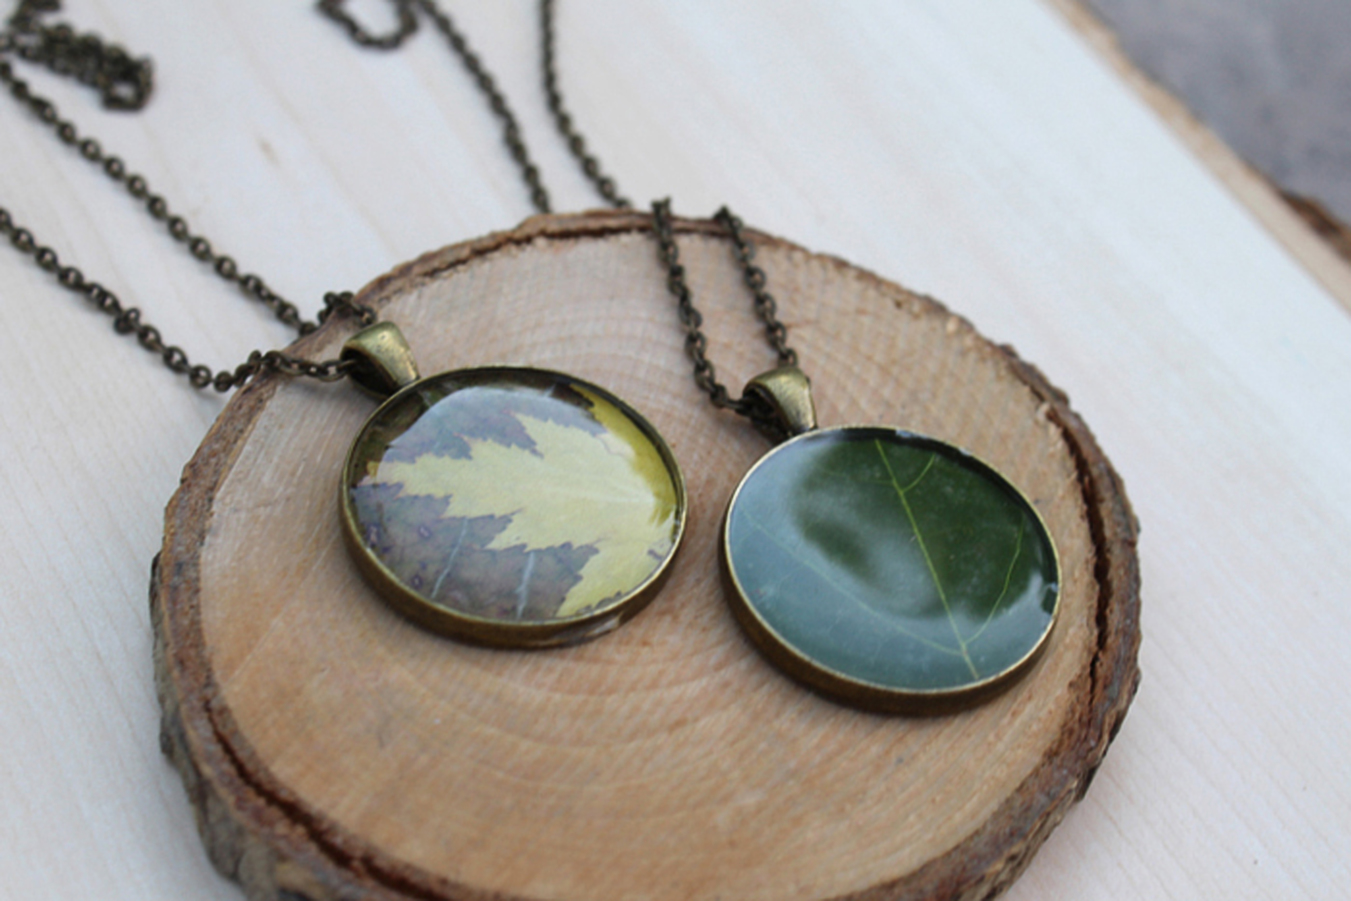
Ready to start making your own pendants? You’ll need to gather the following: objects found in nature, hole punch or scissors, jewelry resin, jewelry bezels, a small torch or lighter, and some type of clear, multi-purpose sealer. First, you’ll put together the pieces you want to display inside the bezel. Fiddle with it for a few minutes until you’re happy with the arrangement. You may want to use the hole punch (or a pair of scissors) to create shapes from the leaves, moss, feathers, etc. After that, you’ll be covering the leaves and bezel with the multi-purpose sealer, which will preserve them both and keep the bezel from turning your skin green. Once the sealer is dry, you will need to carefully go through the instructions for the jewelry resin. You will need to mix the resin and then pour into the bezel, being careful to ensure that the resin domes over the top but does not spill over the sides of the bezel. After about ten minutes, you will need to check it and look for air bubbles. You can eliminate these by holding a heat source close until the bubbles pop. Leave it to dry overnight, and in the morning, decide how you want to display this beautiful addition to your collection.
If you’re raring to go and make a set of these resin pendants, you can find the complete tutorial with photos on the Resin Crafts Blog.